This guide explores at-home depilation in detail so you can choose a routine that fits your skin, hair type, time, and budget. The aim is to help you make informed choices and care for your skin before and after each session. You will find comparisons, step-by-step methods, checklists, and troubleshooting ideas, all presented with a safety-first mindset. For additional reading, you can browse related resources on healthorgs.com depilation.
at-home depilation: what it means and who it suits
At-home depilation is the umbrella term for removing or reducing visible hair by using consumer tools or products in your own bathroom. Depending on the method, the effect can last from a single day to multiple weeks, and the experience ranges from very quick to more involved. It is popular because it offers control over timing, privacy, and cost; it is also flexible, letting you mix and match methods across different body areas.
This guide assumes a wide range of readers: busy professionals who want something fast, people who enjoy slow self-care routines, first-timers who want a gentle start, and experienced users fine-tuning their current approach. No single method fits everyone. Skin tone, hair color, density, and sensitivity all play roles in how comfortable and effective a method feels. Your personal preferences also matter: some people prioritize speed, others prioritize the longest interval between sessions, and others want the cleanest surface and the least post-session redness.
It helps to think in layers: daily or near-daily methods that focus on the surface; weekly methods that hold longer; and occasional devices that may extend your interval with consistent use. Each layer comes with preparation and aftercare, and each trades a different combination of time, sensation, cost, and skin response.
Comparing core methods: what you can expect
Below is a reader-friendly comparison of the most common at-home methods. Use it to shortlist two or three options to test, rather than chasing a single perfect solution. Many people end up using different methods for different areas, seasons, and schedules.
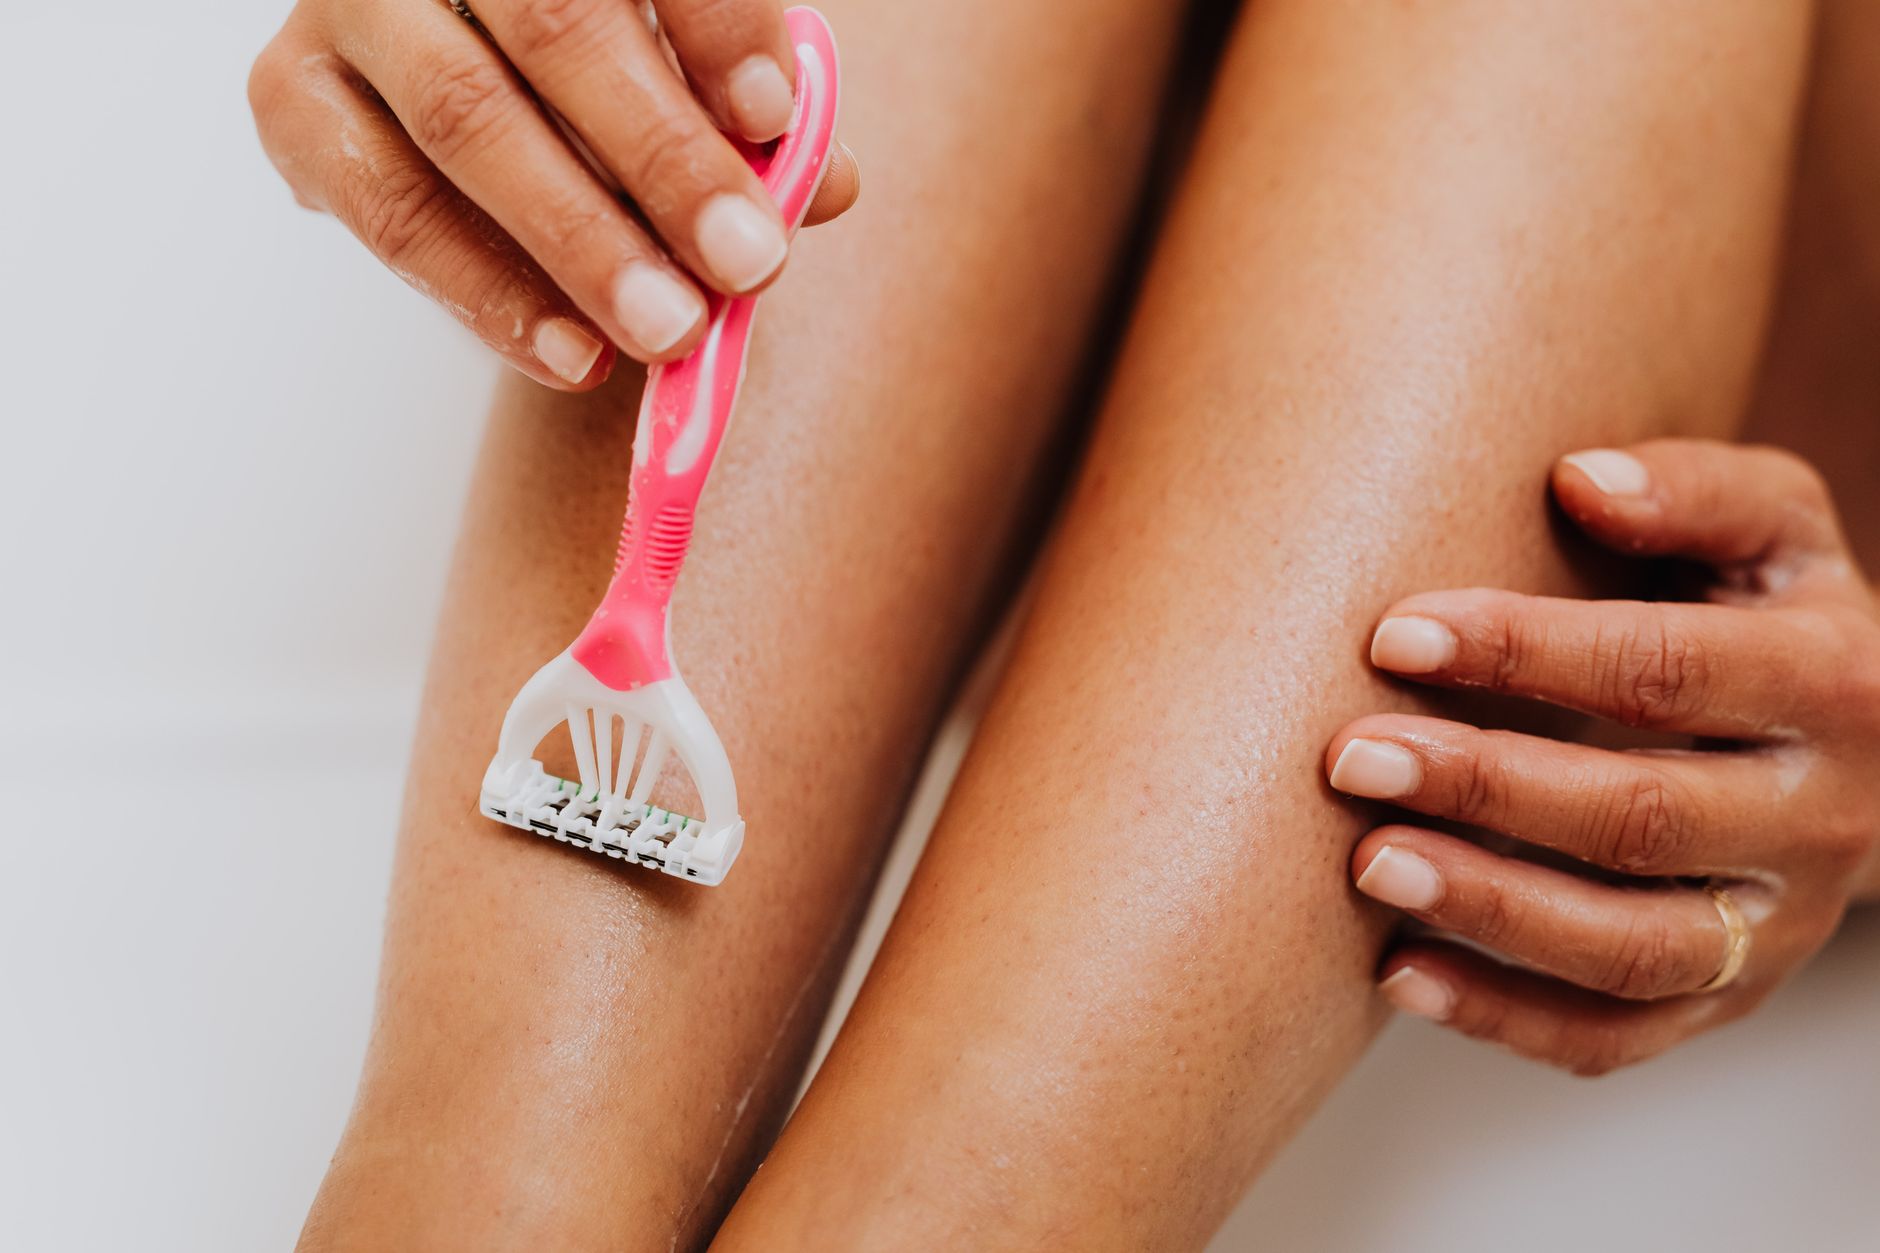
- Shaving: Fast, accessible, and budget-friendly. Modern multi-blade razors and safety razors offer smooth passes. Results may feel best for one to three days, depending on hair growth. The experience is nearly painless when done with light pressure and a quality shaving gel or cream. It pairs well with morning routines and last-minute plans.
- Creams (depilatories): Designed to dissolve hair at or just below the surface with carefully timed application. The process is simple: apply, wait according to the label, and gently wipe away. Many users appreciate the smooth result and how it avoids blade contact. Always do a patch test and follow timing guidance closely to reduce the chance of irritation.
- Waxing: Removes hair from the root, offering a clean feel that can last two to four weeks for many areas. Strip wax and hard wax kits are widely available. Home waxing takes practice, especially on curves or in sensitive zones. Precise prep and aftercare help comfort by calming the skin and maintaining a clean surface.
- Sugaring: A traditional paste (often sugar, water, lemon) applied and removed in a way similar to waxing but at a slightly lower temperature. Many users find it gentle on the skin. It can be rolled or flicked off in short sections, which helps control. Like waxing, results can last multiple weeks.
- Threading: Often used for facial hair, especially eyebrows, upper lip, and cheeks. A twisted thread lifts hair from the root. Results can last for weeks, and the precision is high. It’s precise but requires good technique and a steady hand; many prefer to learn basics on less visible areas first.
- Epilators: Motorized devices that grasp and lift hair from the root. With a steady hand and even pace, results can extend for weeks. Sensation varies; some users acclimate after a few sessions. Epilators shine for legs and arms once technique and pacing are dialed in.
Each method balances speed, sensation, cost, and interval length in a different way. A smart approach is to match your top priorities (for example, fast and gentle) to a shortlist: shaving and creams for speed and convenience; waxing, sugaring, or epilation for longer gaps; threading for precision areas.
Home devices that aim for longer intervals: what to know about light-based tools
Light-based home devices, such as IPL handsets and some home-use lasers, are designed to work over time with repeat sessions according to the manufacturer’s schedule. Many users aim to lengthen the interval between visible regrowth with consistent use. Experiences vary, and adherence to instructions matters. Because these devices deliver light energy, understanding skin tone and hair color guidance is essential; manufacturers typically publish charts that explain where use is appropriate or not.
If you consider this path, plan for a series: an initial phase with more frequent sessions and a maintenance phase later. Users often describe gradual changes and note that consistency and patience are key. This category has a learning curve: correct spacing of sessions, careful eye protection if recommended by the device, and attention to the device’s cooling features. If you have questions about whether a device is suitable for your specific skin or hair characteristics, consider asking a qualified professional for individualized guidance.
Even when you follow instructions, you may experience transient warmth, redness, or tightness. A calm aftercare routine—cooling gel, fragrance-free moisturizer, and avoiding intense heat exposure the same day—can help comfort. Avoid using light-based tools over tattoos or pigmented lesions; follow the device’s exclusions carefully. Keep in mind that results and timelines differ by person, and pausing when your skin signals a need to rest is a sign of good care.
Skin and hair considerations: sensitivity, tone, and density
Understanding your baseline helps you choose wisely and care for your skin. Consider the following aspects before selecting methods and building your routine:
- Sensitivity: If your skin tends to flush, itch, or sting with new products, lean toward shorter contact methods at first (for example, a quick razor pass with a gentle gel). Do patch tests for creams and waxes. Keep your first sessions short and on less visible areas, and extend gradually as your skin adapts.
- Skin tone: With light-based devices, manufacturers provide compatibility charts. Read and follow them closely so you align your device choice with your tone category. For manual methods like shaving or waxing, tone is less of a constraint but still informs aftercare: darker tones may show redness differently, and gentle moisturizers with balanced emollients can be more forgiving.
- Hair color and density: Coarser, darker hair can feel pricklier with surface-level methods, which may nudge you toward waxing, sugaring, or epilation for longer gaps. Lighter or finer hair may respond well to creams and razors. Density informs how long a session will take and whether you want to break sessions into sections across a week.
- Area-specific choices: Not all areas respond the same way. Legs and arms often tolerate multiple methods; underarms benefit from short sessions and gentle aftercare; bikini zones may call for extra patience and smaller sections. Facial hair often favors precision methods like threading or carefully controlled creams labeled for facial use.
Creating a simple skin journal pays off. Note the method, time, products, and any sensations within 24 hours. Patterns will emerge—perhaps a certain gel feels calmer, or a particular day of the cycle feels more sensitive. Small adjustments based on observation help you settle into a routine your skin appreciates.
Prep that pays off: a small ritual with big comfort
Effective preparation is half the result. It sets up easier passes, cleaner removal, and calmer skin afterward. Use the following pre-session checklist as a repeatable ritual:
- Cleanse the area with a mild, fragrance-free wash. Pat dry gently. A clean surface helps products and devices glide more evenly.
- Soften hair if your method benefits from it. A warm shower or compress before shaving, waxing, or sugaring can make a noticeable difference in comfort and glide.
- Exfoliate lightly 24 hours in advance for waxing, sugaring, or epilation. Use a gentle cloth or a mild chemical exfoliant suited to your skin to support even removal and a clean surface.
- Patch test creams or new wax formulas on a small area as directed by the label. Leave time to observe your skin’s response.
- Gather tools: fresh razor or blades, a sharp safety razor, new wax strips, clean epilator heads, cotton pads, a timer, and aftercare products (cooling gel, moisturizer). Having everything reachable reduces fumbles.
- Plan small sections, especially for learning. A forearm zone or a single calf builds confidence. Pace yourself, and check in with your skin after each section.
Finally, set a calm environment. Good lighting, a mirror, and a stable surface help; distractions prolong sessions and invite rushed passes. A gentle mindset—no racing, no pressing too hard—often means a better result in less time.
Step-by-step routines for popular methods
Below are concise walkthroughs. Adjust pacing and product choices based on your skin notes and the manufacturer’s directions.
Shaving
- Apply a cushion: a hydrating gel, cream, or oil designed for shaving. Let it sit for 30 to 60 seconds.
- Glide, don’t press. Short strokes with minimal pressure lower friction. Rinse the blade often, and follow hair direction first; consider an across-the-grain pass only if your skin tolerates it well.
- Rinse and pat dry. Apply a soothing, fragrance-free moisturizer. Some enjoy a cool compress for a minute to add comfort.
Depilatory creams
- Patch test first, as products vary. If all looks calm after the waiting period, proceed.
- Spread evenly with the included spatula or your fingers, following the label’s timing closely. Use a timer. Avoid rubbing in; you’re coating, not massaging.
- Remove gently. Use the spatula or a damp cloth, then rinse thoroughly with lukewarm water. Moisturize with a simple lotion.
Waxing
- Check length. Many kits suggest hair lengths around a few millimeters for best grip.
- Apply in small sections with hair growth, lay the strip, and press. Keep skin taut. Pull back quickly and parallel to the skin, not upward.
- Calm the area with a post-wax lotion or a light oil to remove residues. Avoid tight clothing and hot environments for the day to keep comfort high.
Sugaring
- Warm the paste per instructions—usually to a pliable texture.
- Spread against growth and flick off in the direction of growth. Use short, controlled pulls and keep skin taut.
- Finish with a gentle cleanser if needed, and a moisturizer. Sugaring residue rinses with water, which many find convenient.
Threading
- Practice on forearm hair to build coordination. Watch reputable tutorials to learn hand positions and thread tension.
- Work small facial sections with steady rhythm. Stretch the skin slightly to give the thread a flat surface.
- Apply a calming product after, such as aloe gel or a light lotion. Avoid heavy cosmetics immediately after.
Epilators
- Start on low speed and build tolerance gradually. Some users prefer to warm the shower beforehand and dry the skin fully to support comfort.
- Hold skin taut. Move at a steady pace with minimal pressure. Overlapping passes can increase sensitivity, so aim for smooth, single passes.
- Post-session care mirrors waxing: a gentle lotion, breathable clothing, and a break from heat exposures for the day.
Light-based home devices
- Read the guide cover to cover. Note eye protection guidance, interval schedules, and exclusions (such as tattoos).
- Shave beforehand if the manual suggests it, since many devices are designed for a clean surface. Ensure the skin is dry and clean.
- Space sessions evenly during the initial phase, then transition to maintenance. Track your schedule with reminders so you don’t stack sessions too closely.
Aftercare that supports comfort and a calm look
Aftercare is where many routines succeed or struggle. A few simple steps can help your skin feel calmer and look more even in the hours following a session.
- Cool first. A clean, cool compress or a splash of cool water can help comfort immediately after waxing, sugaring, epilation, or light-based sessions.
- Moisturize simply. Choose a fragrance-free lotion or gel that your skin already likes. Ingredients like glycerin, squalane, and ceramides are common favorites for comfort.
- Skip heat exposures the same day—hot tubs, saunas, and very hot showers can heighten sensation. Give the skin time before returning to strenuous workouts in tight clothing.
- Dress loosely. Breathable, soft fabrics minimize rubbing on freshly worked areas, especially underarms and bikini zones.
- Pause on strong actives in that area (for example, strong exfoliants or retinoids) for a day or two, unless your routine already includes a plan you know your skin tolerates.
These steps sound small, but together they create a buffer that helps your skin settle. Over days and weeks, this calmer baseline supports a smoother look and a more predictable routine.
Ingrowns and bumps: practical ways to lower exposure to triggers
Small bumps and ingrown hairs can show up with many methods, especially in areas with curved hair growth. The goal is not perfection but steady management. Try the following practical approaches:
- Keep passes gentle. Pressure and repeated strokes increase friction. A sharp blade, a smooth cream, and a light hand can help.
- Build a light exfoliation habit. Once or twice a week, a gentle cloth or a mild chemical exfoliant can help release trapped hairs and maintain a clear surface.
- Moisturize consistently. Hydrated skin is more supple, which helps hairs reach the surface more easily. Moisture also supports the barrier, which can reduce visible redness.
- Rethink direction. If a particular area bumps easily, try shaving with the hair direction only, or adjust waxing angle and strip size. Smaller sections often give better control.
- Time your sessions. Giving skin recovery windows—such as spacing leg sessions every few days rather than daily—can help lower irritation.
If an area looks persistently unhappy or you notice changes that concern you, pause the method and consider consulting a qualified professional for individual guidance. Personalized advice can help you adapt the routine to your needs.
Cost, time, and sustainability: choosing what fits your life
Different methods spread cost and time differently. Some ask for higher upfront investment and lower ongoing costs; others are ultra-low upfront and pay as you go. Consider the total picture over three to six months.
- Shaving: Handles and blades range from budget to premium. Gels and creams are affordable and last many sessions. Time per session is minimal, especially with refined technique.
- Creams: Product-driven costs and scheduled timing. Simple to use; waiting time is the main component. Good for people who dislike blade contact.
- Waxing and sugaring: Kits vary by quality and volume. Once you master small sections, results can stretch sessions weeks apart. Time savings accrue over the month rather than the day.
- Epilators: A one-time device cost, then maintenance. Many users report shorter sessions as hair density changes over repeated uses and as technique improves.
- Light-based devices: Higher upfront costs with structured session schedules. Users who value longer intervals between surface maintenance sometimes accept the early time investment. Read warranties and support policies before purchase.
Sustainability can also guide choices. Safety razors with recyclable blades, refillable shaving creams, sugar pastes with minimal packaging, and durable devices reduce waste. If sustainability motivates you, set a small rule—such as switching to refillable gels or buying larger-format creams that minimize plastic per use—and let consistency do the rest.
Troubleshooting: when results aren’t matching expectations
Every routine evolves. If your results aren’t lining up with your goals, run through a short checklist and adjust one variable at a time.
- For quick regrowth: Try a different angle or technique with the same method before switching. For shaving, explore a single with-the-grain pass plus improved prep. For waxing or sugaring, check hair length and strip size.
- For surface roughness: Revisit prep. A short warm compress, more cushion from your gel, or a different razor can change the feel. With creams, timing and even application matter; a spatula helps.
- For sensitive areas: Scale down sections and slow the pace. Swap to methods that your skin has liked in the past for that area. Keep notes so you can compare outcomes over two or three sessions.
- For home devices: Re-read the device guide, confirm interval spacing, and ensure you followed the suggested pre-shave when applicable. If the device has multiple intensity settings, follow the manufacturer’s guidance for gradual changes, not abrupt jumps.
If setbacks persist or you have unique skin concerns, getting personalized guidance from a qualified professional can help you tailor an approach that respects your skin’s signals while meeting your goals.
Building your personal plan: mix, match, and calendar
Planning a routine that harmonizes with your schedule builds consistency and calm results. The following examples illustrate how different priorities shape different plans:
- The speed-first plan: Daily or every-other-day shaving for legs, weekly underarm passes, and a monthly waxing session for a longer interval before special events. Minimal prep, consistent aftercare.
- The longer-gap plan: Weekly sugaring or epilation for legs and arms, threading for facial precision twice a month, and light-based device sessions according to the manual. Exfoliation once or twice weekly supports a smoother look between sessions.
- The gentle-start plan: Try creams on less visible areas with careful timing, then progress to small shaving sections with a fresh cartridge and abundant gel. Over a month, test a wax or sugar kit on a small patch to see how your skin responds.
Use a simple calendar: mark prep days, session days, and rest days. Add a column for notes on comfort and appearance. Over several weeks, you’ll see what cadence your skin favors. A routine that feels predictable is easier to maintain, costs less over time, and fits better with changing seasons and commitments.
Hygiene, storage, and tool upkeep
Clean, well-maintained tools support comfort and consistent results. Build a habit of caring for your tools at the end of each session.
- Rinse and dry razors, epilators, and reusable applicators. Store them in a dry place to maintain edges and minimize residue build-up.
- Replace consumables on a schedule. Fresh blades reduce drag; new wax strips adhere more evenly; creams have shelf lives that you can track by labeling purchase dates.
- Sanitize surfaces you use for waxing and sugaring. Simple sprays and clean cloths support cleanliness and reduce sticky residue.
- Audit your kit quarterly. Remove products that don’t suit you, and restock the ones that do. Reducing clutter makes setup faster and keeps your routine focused.
Tool care may feel like a small task, but it pays dividends in smoother passes, calmer skin, and shorter sessions. Think of it as part of aftercare—another way you support your skin.
Confidence and mindset: the human side of routines
At-home depilation is part technique and part mindset. Rushing, skipping prep, or changing too many variables at once can cloud the picture of what works. A steady pace, gentle self-talk, and simple experiments keep the process humane and effective.
Accept that some days will go better than others. Lighting, time pressure, and the weather can tilt your experience one way or another. Returning to basics usually helps: cleanse, cushion, careful technique, cool down, moisturize, and rest. Confidence grows as you listen to your skin and track what supports it. You are building a skill set, not taking a test.
If confidence wavers, set a micro goal for the next session—one body area, one new razor, one revised timing—and evaluate just that change. Progress in routines often comes from small, repeatable improvements rather than drastic switches.
A compact starter checklist
Use this checklist to begin or reset your routine:
- Pick two methods to test for your main area (for example, shaving and waxing).
- Gather tools, including a new blade, a gentle gel, strips or paste if applicable, a timer, and a simple moisturizer.
- Plan prep the day before (light exfoliation) and aftercare the same day (cool compress, lotion).
- Start with small sections and build up as your technique and comfort grow.
- Log each session’s time, method, products, and how your skin felt within 24 hours.
- Keep your expectations flexible: results vary, and listening to your skin is part of success.
These steps create a supportive framework. Within that framework, your preferences can flourish—speed, comfort, sustainability, or longer gaps. Once your pattern settles, everything feels easier.
With a thoughtful mix of preparation, method selection, and aftercare, at-home depilation can become a steady, comfortable part of your self-care routine. Keep your notes, make gentle adjustments, and seek personalized advice when you need it. Your routine should feel like it supports you—not the other way around.